.png?fit=max&auto=format&n=jKjpuy2fz57OUcfn&q=85&s=d5b9cacebbb4a94e2c6bac33ad479982)
.png?fit=max&auto=format&n=jKjpuy2fz57OUcfn&q=85&s=0e6d93d474315b69b3046316150e4582)
What you’ll get
- 10 days of ready-to-post content, delivered to your inbox each day.
- A unique tracking link for every post, so you can see which post drives leads.
Who should read this
- Founders & Marketers: Turn existing content into a steady drumbeat of social posts without writing from scratch.
- Growth Leads: Know exactly which post is driving inbound leads.
What you’ll learn
- Build a content library from a piece of content you already have (a landing page, release note, or tutorial).
- Turn that library into a 10-day campaign with a lead capture form on every post.
- Get your daily post emailed to you and start tracking which posts convert.
- Get notified the moment a lead comes in, and follow up automatically.
1. Research & Create a Content Library
Prerequisites
Before you start, make sure you have a DeepVista account with an active project. To create an account, sign up here.Ask DeepVista to research and draft your content library
1
Provide an input DeepVista can research
Provide an input — your landing page, a product release note, a tutorial, or any content asset you already have.For example, we used this prompt:
2
Review the generated post copy
DeepVista researches the source content and drafts 10 posts targeting your ICPs.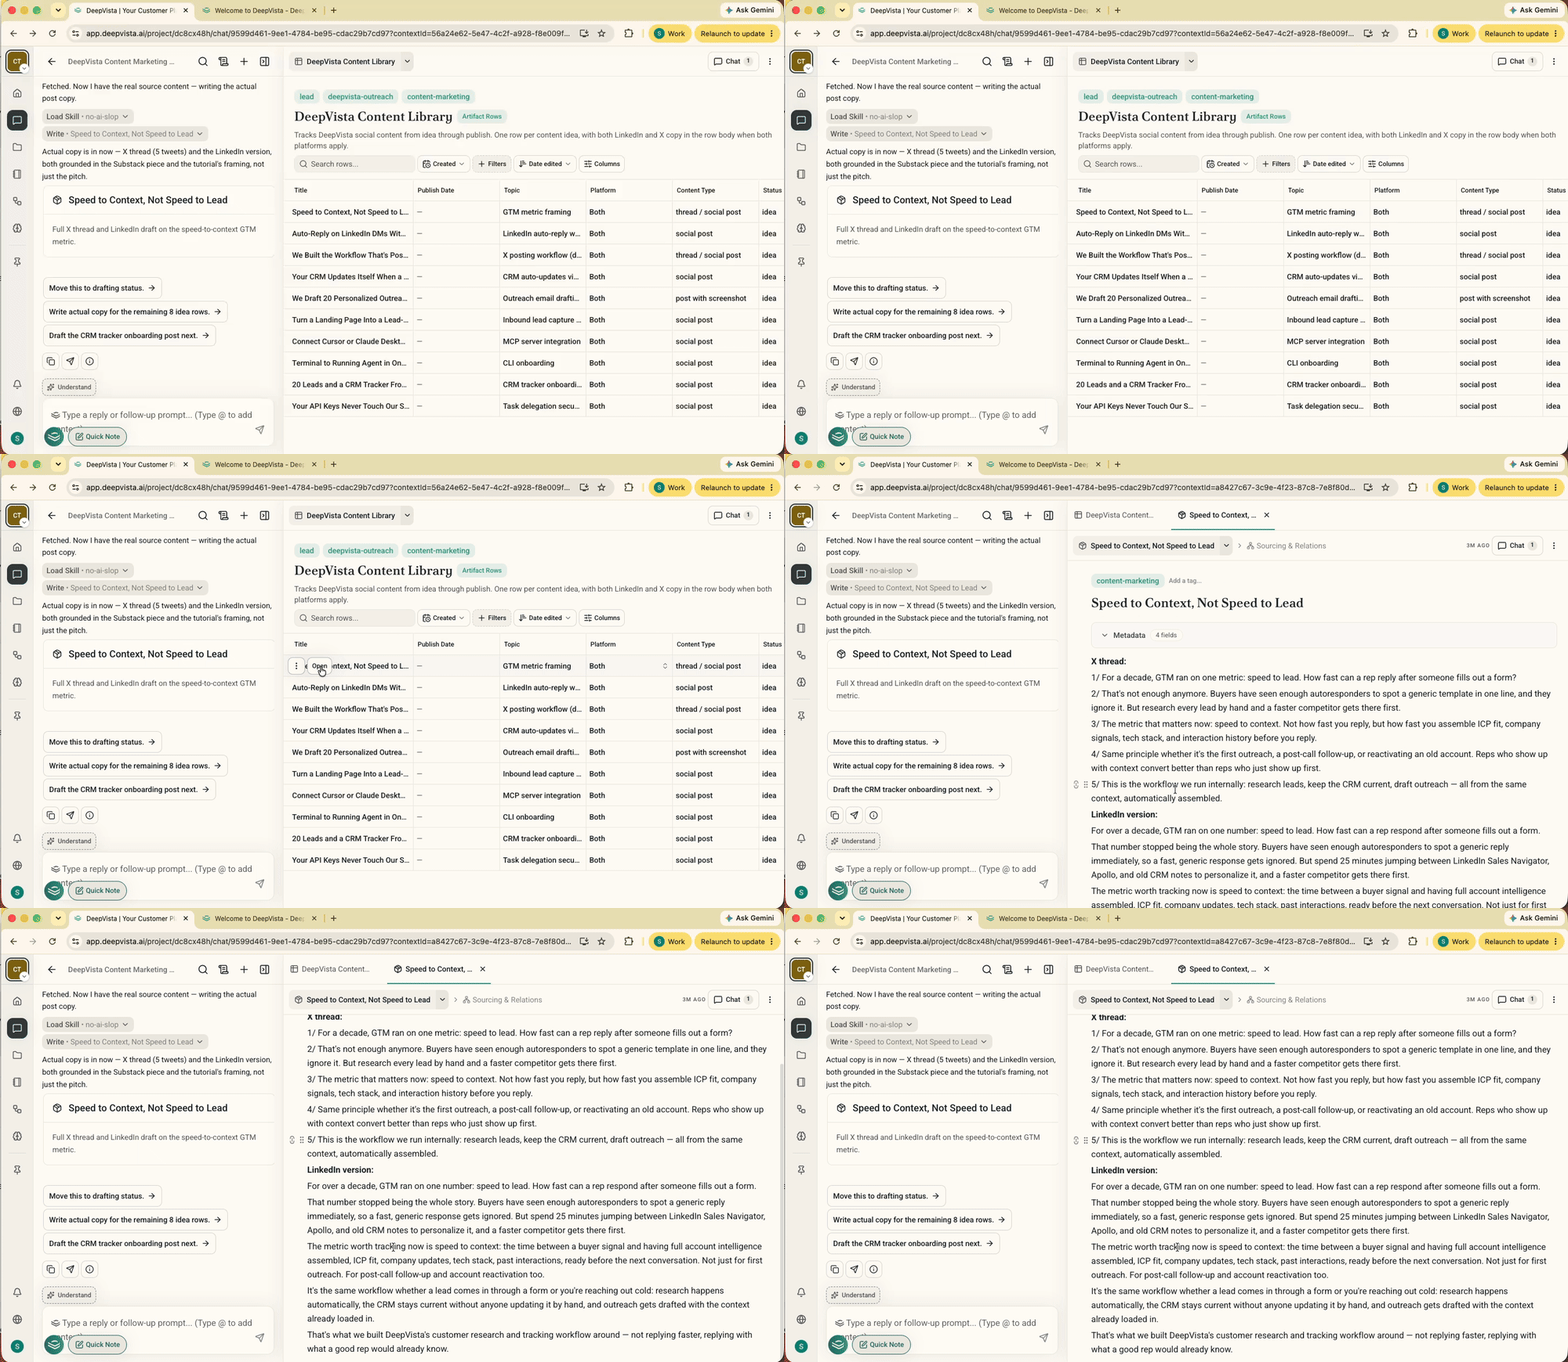
2. Build a 10-Day Campaign
Schedule the campaign
1
Ask DeepVista: "Create a 10-day campaign on this."
DeepVista schedules your content library into a 10-day campaign, one post per day.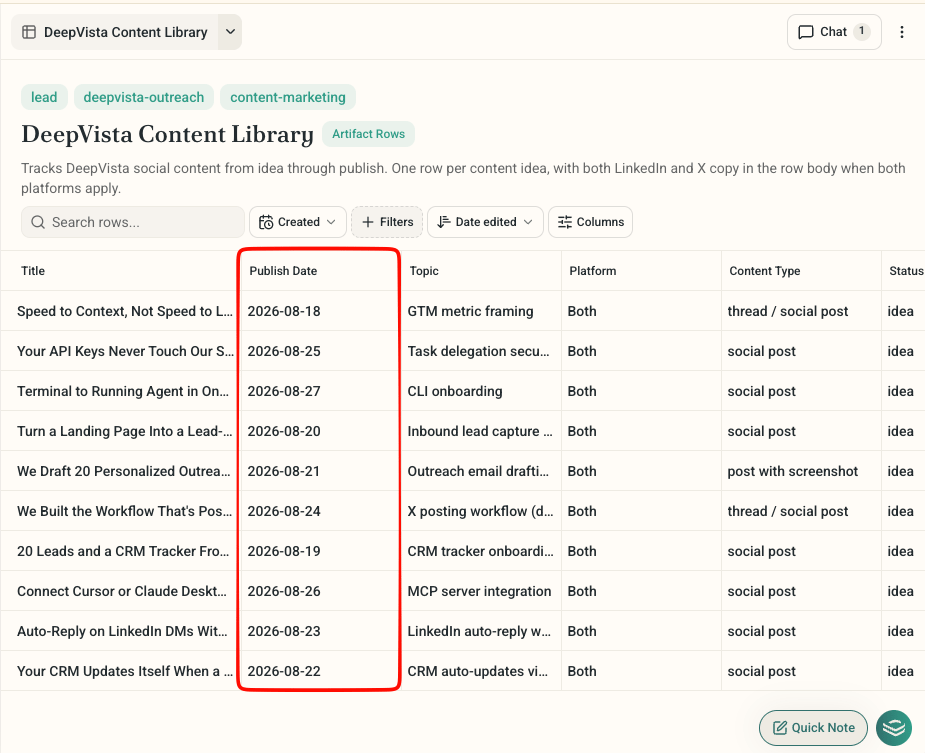
Add a lead capture form to each post
1
Add a lead capture form to each post
Use this prompt:DeepVista creates a Lead Capture Workflow for the campaign.
2
Get your form link
Hover over the upper-right corner of the workflow card and generate a URL for your input form.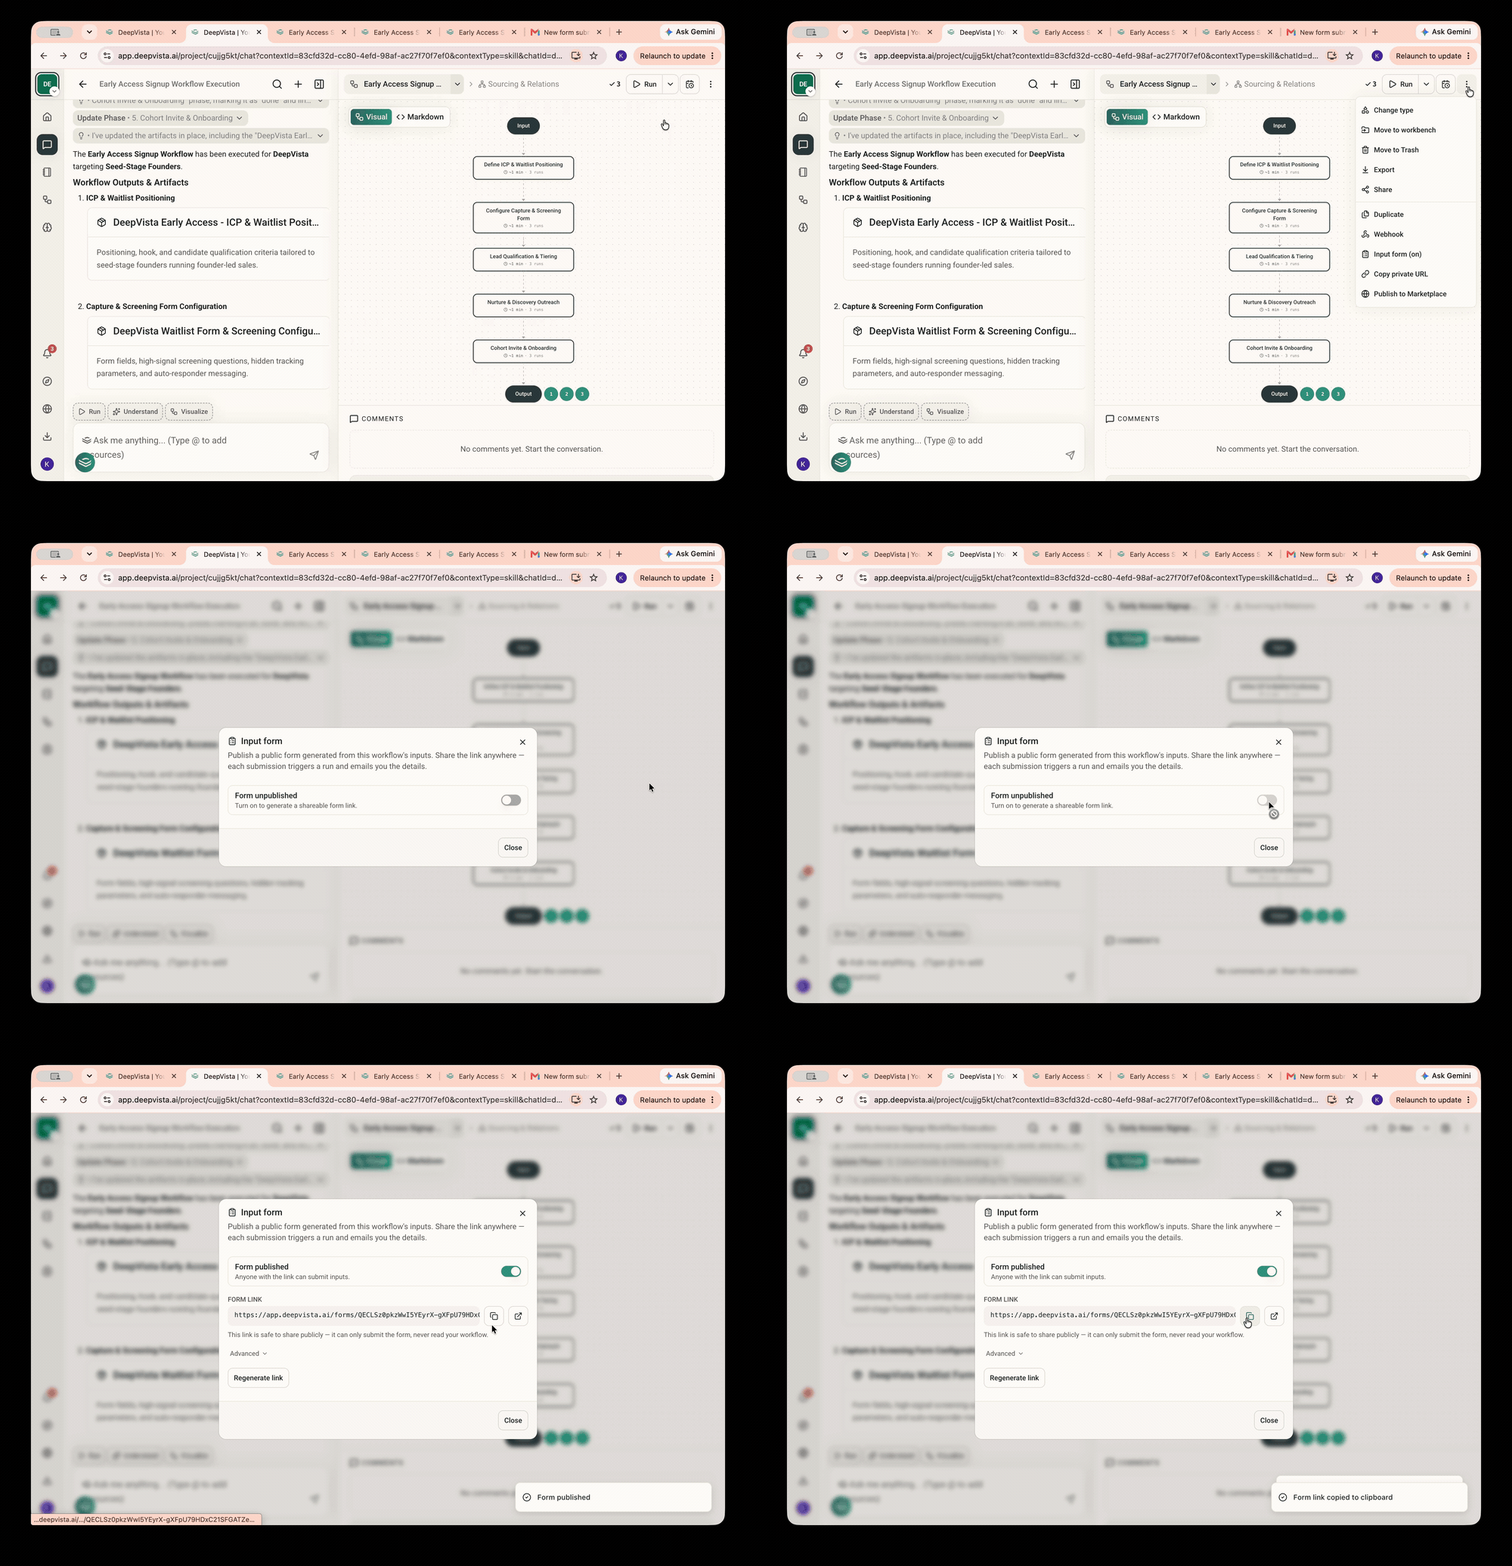
3
Customize the form
On the workflow page, click Input > Input Form > Add input to get a sample prompt you can edit.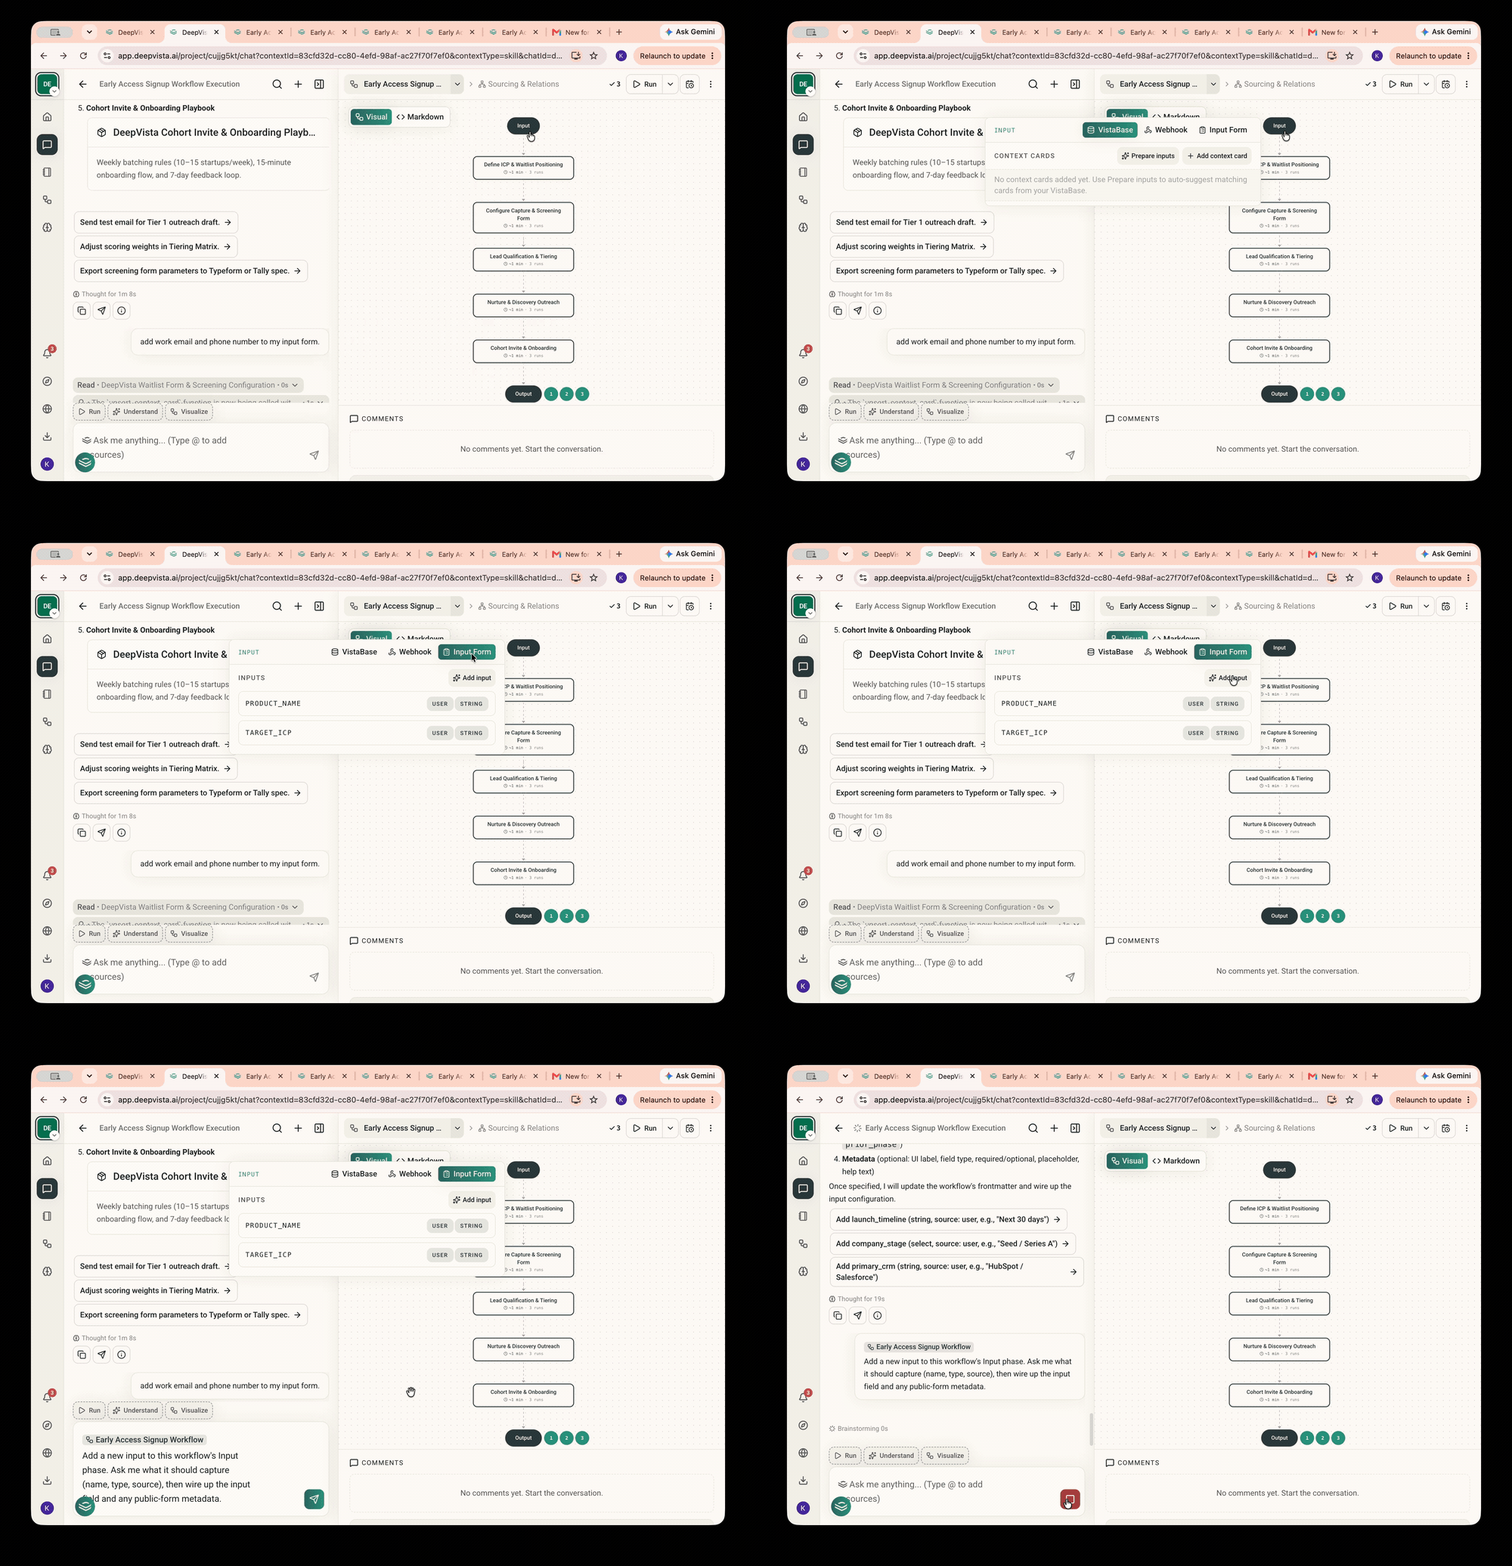
4
Find your tracking link
Each post also gets its own unique tracking link — you’ll find it on the workflow card.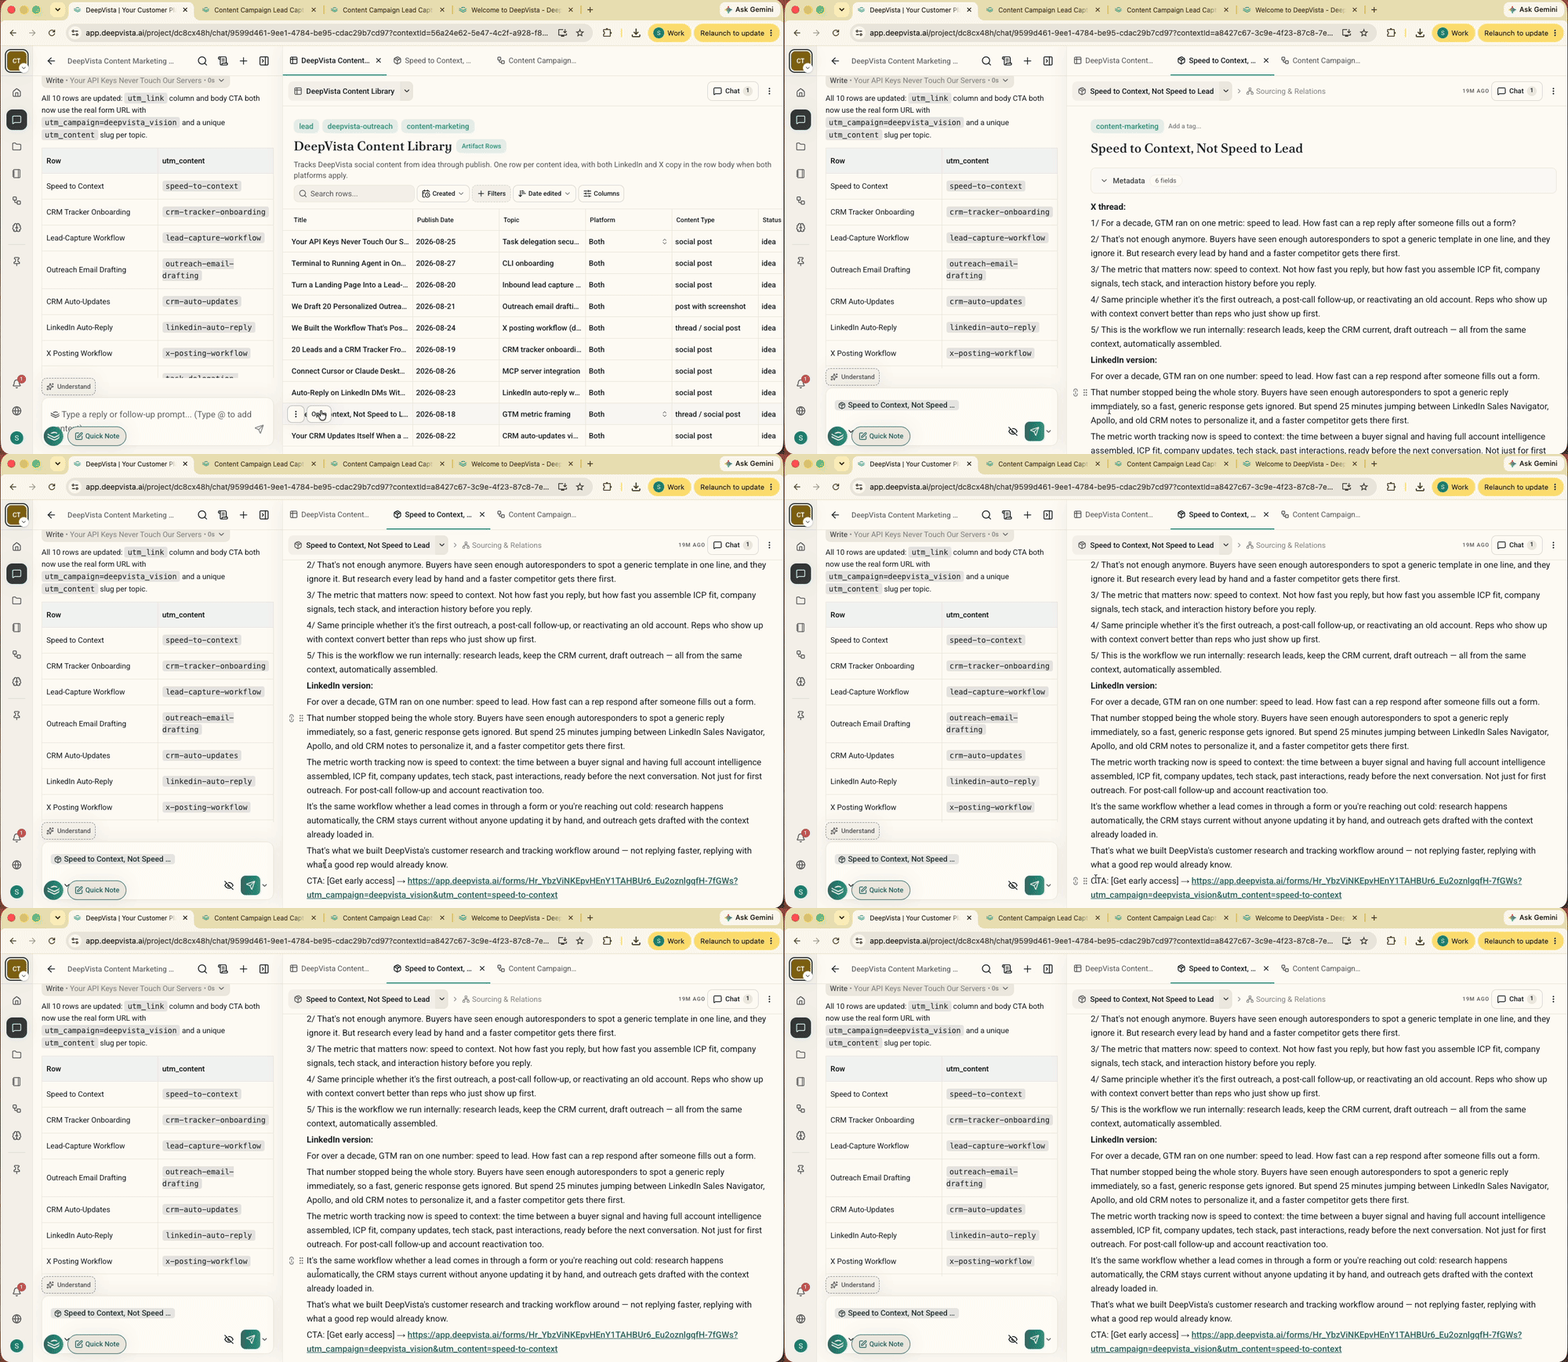
3. Get Your Daily Copy & Start Tracking
Ask DeepVista to email your daily post
1
Ask DeepVista: "Email me one copy a day. Ready to start today."
Check your inbox — your first post is on its way.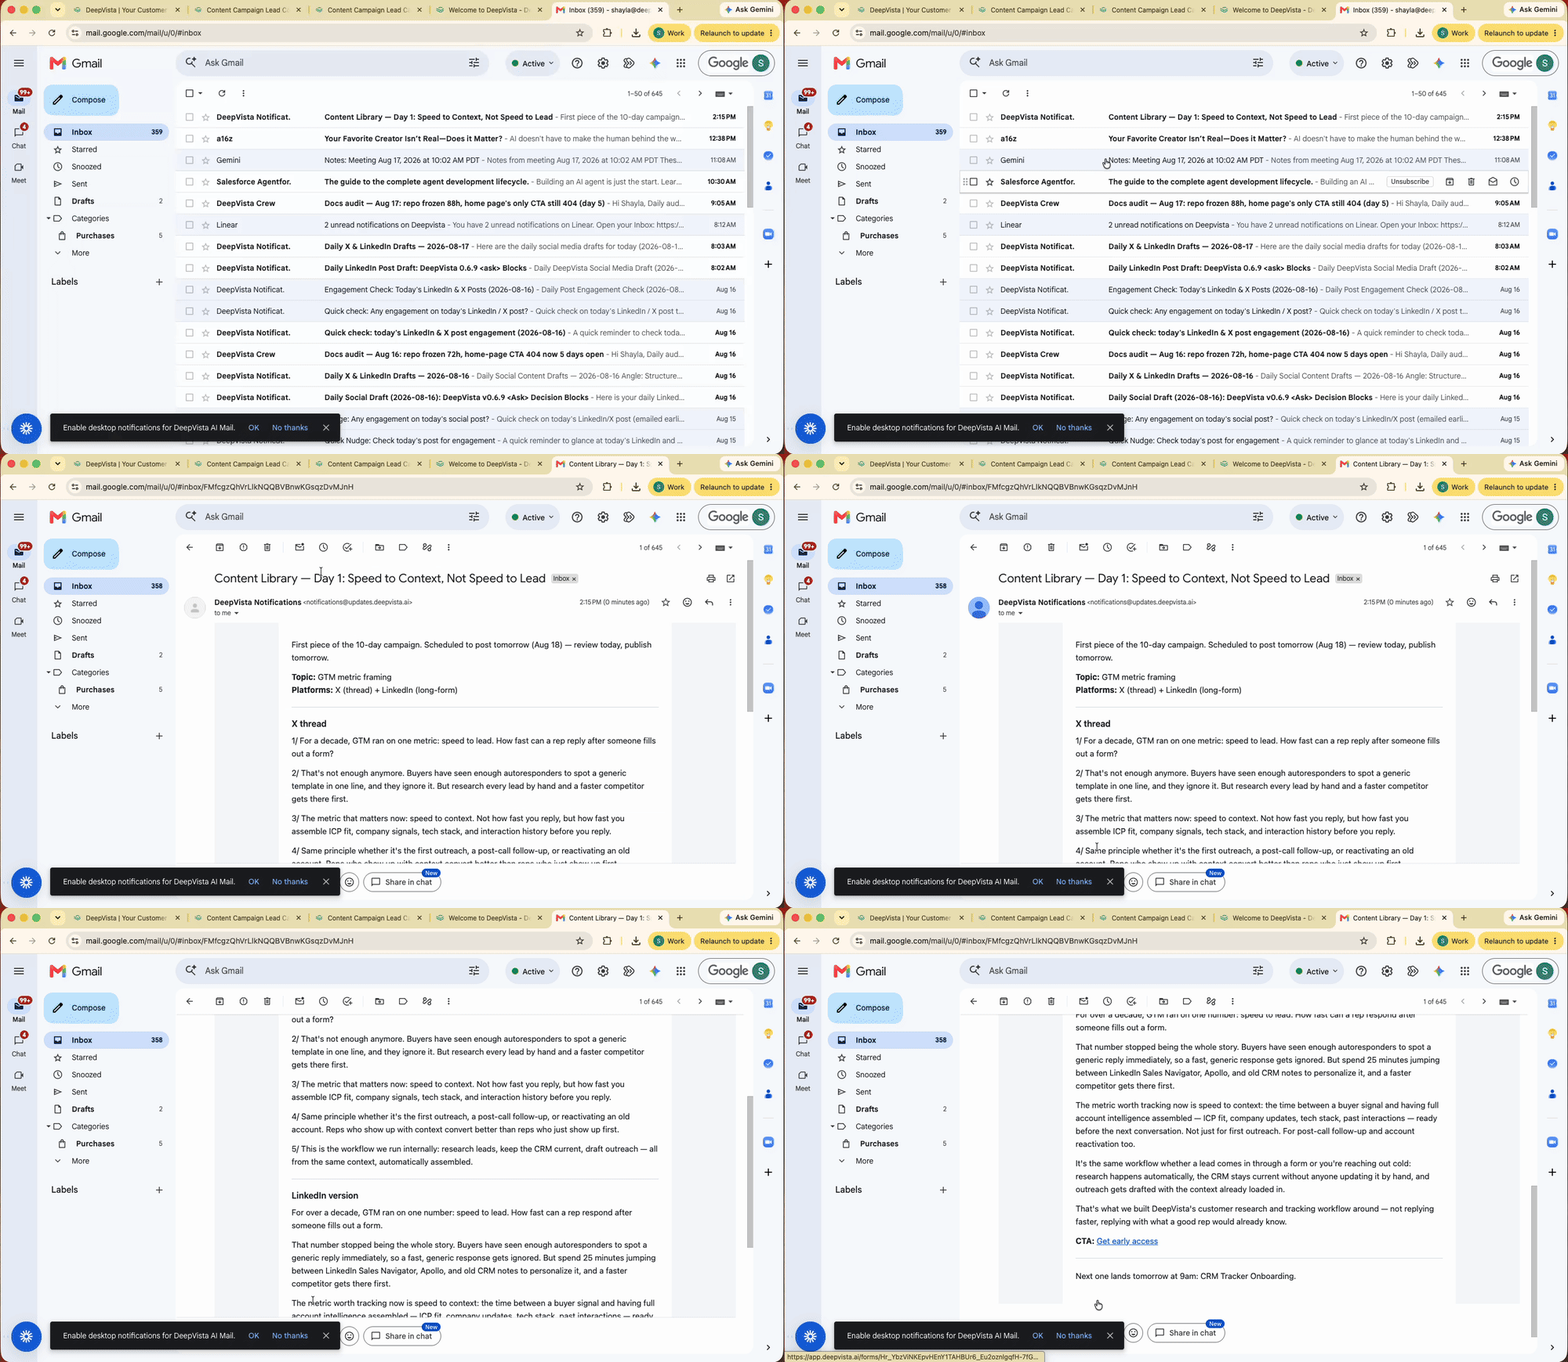
4. Get Notified & Follow Up with Leads
Get Notified with Inbound Activities
1
You can now share the input form URL with potential leads via email.
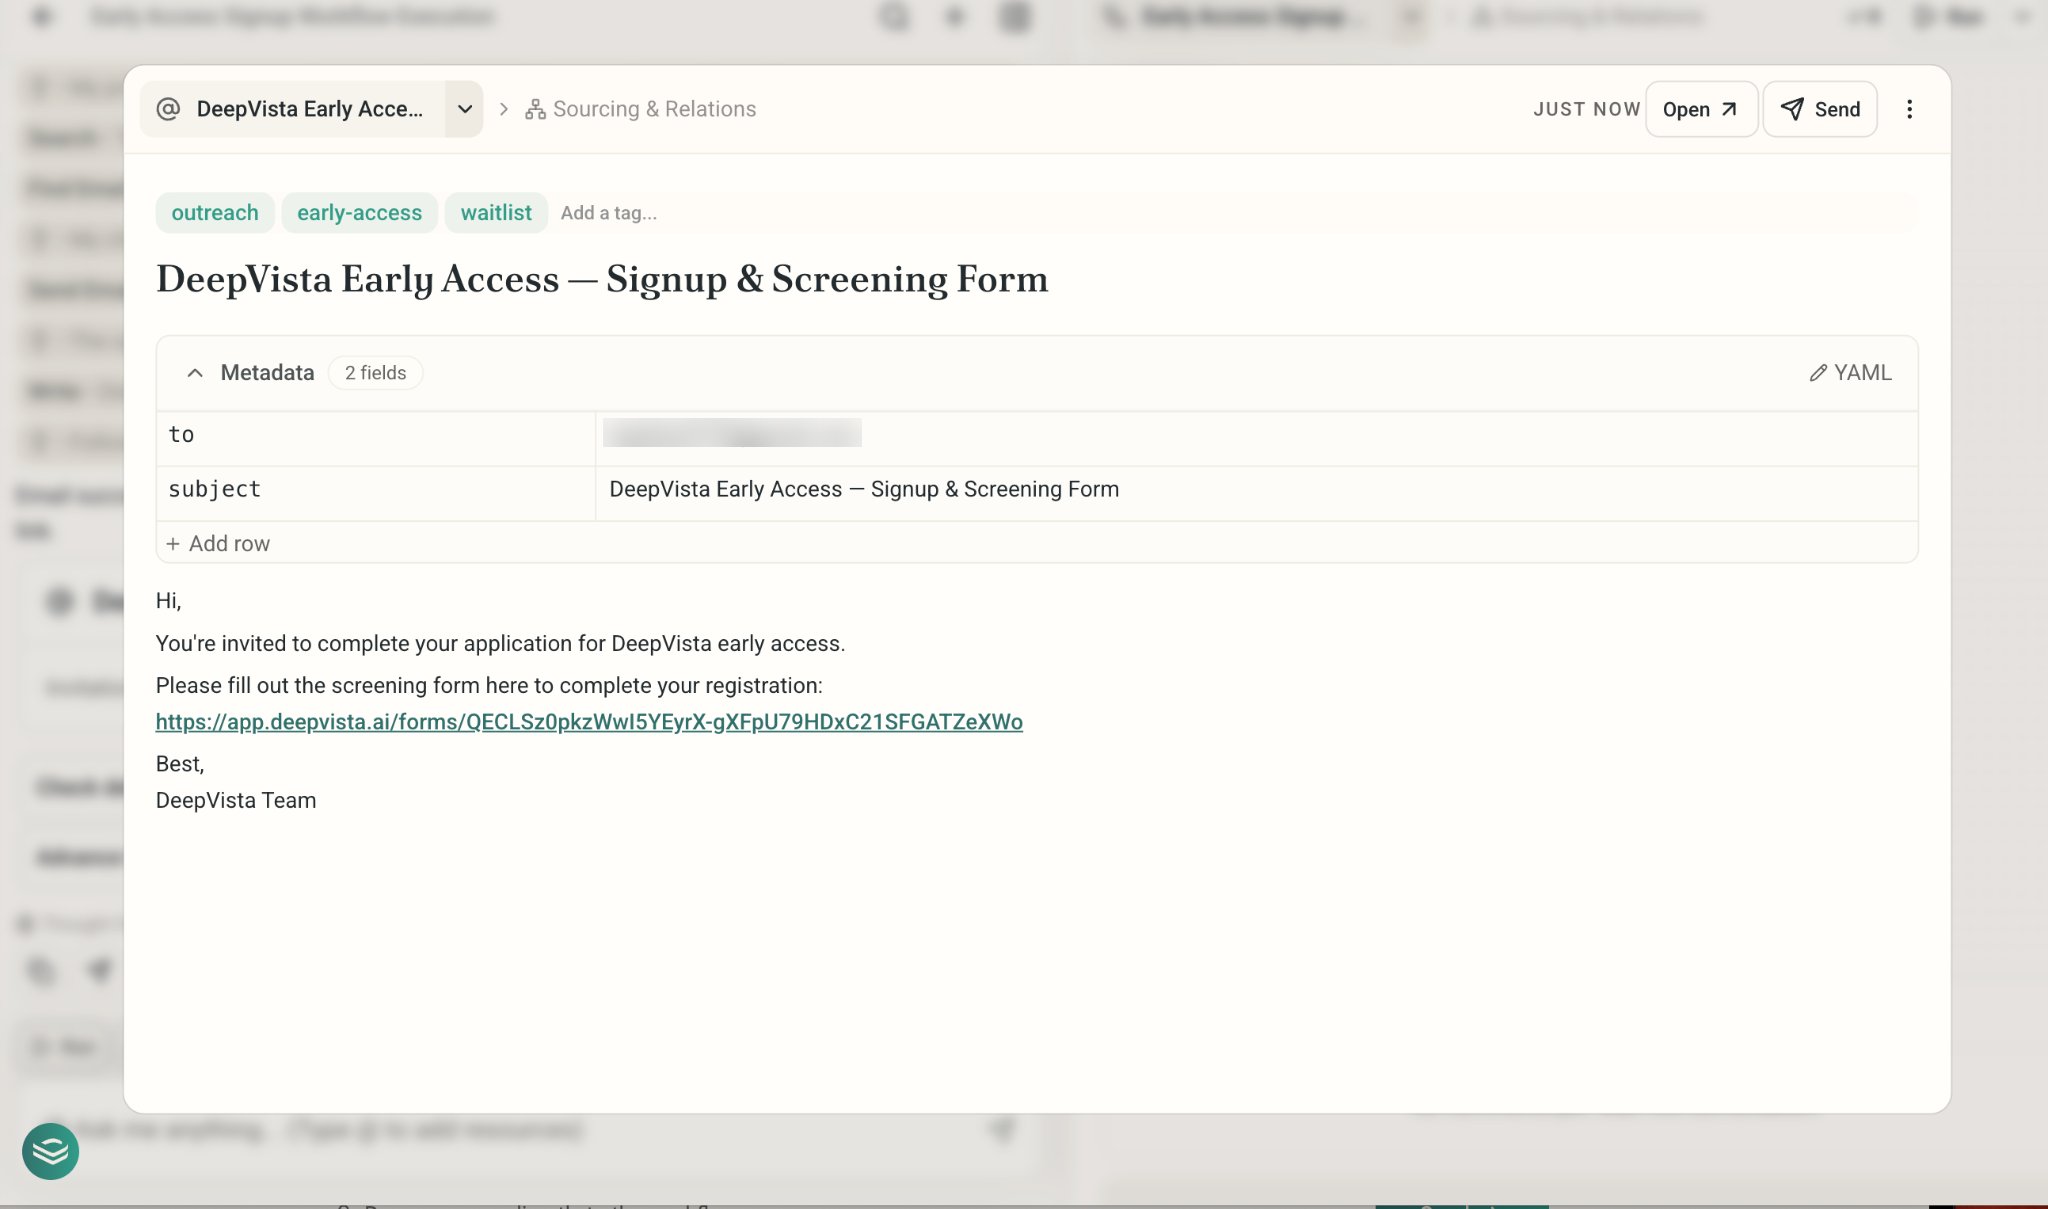
2
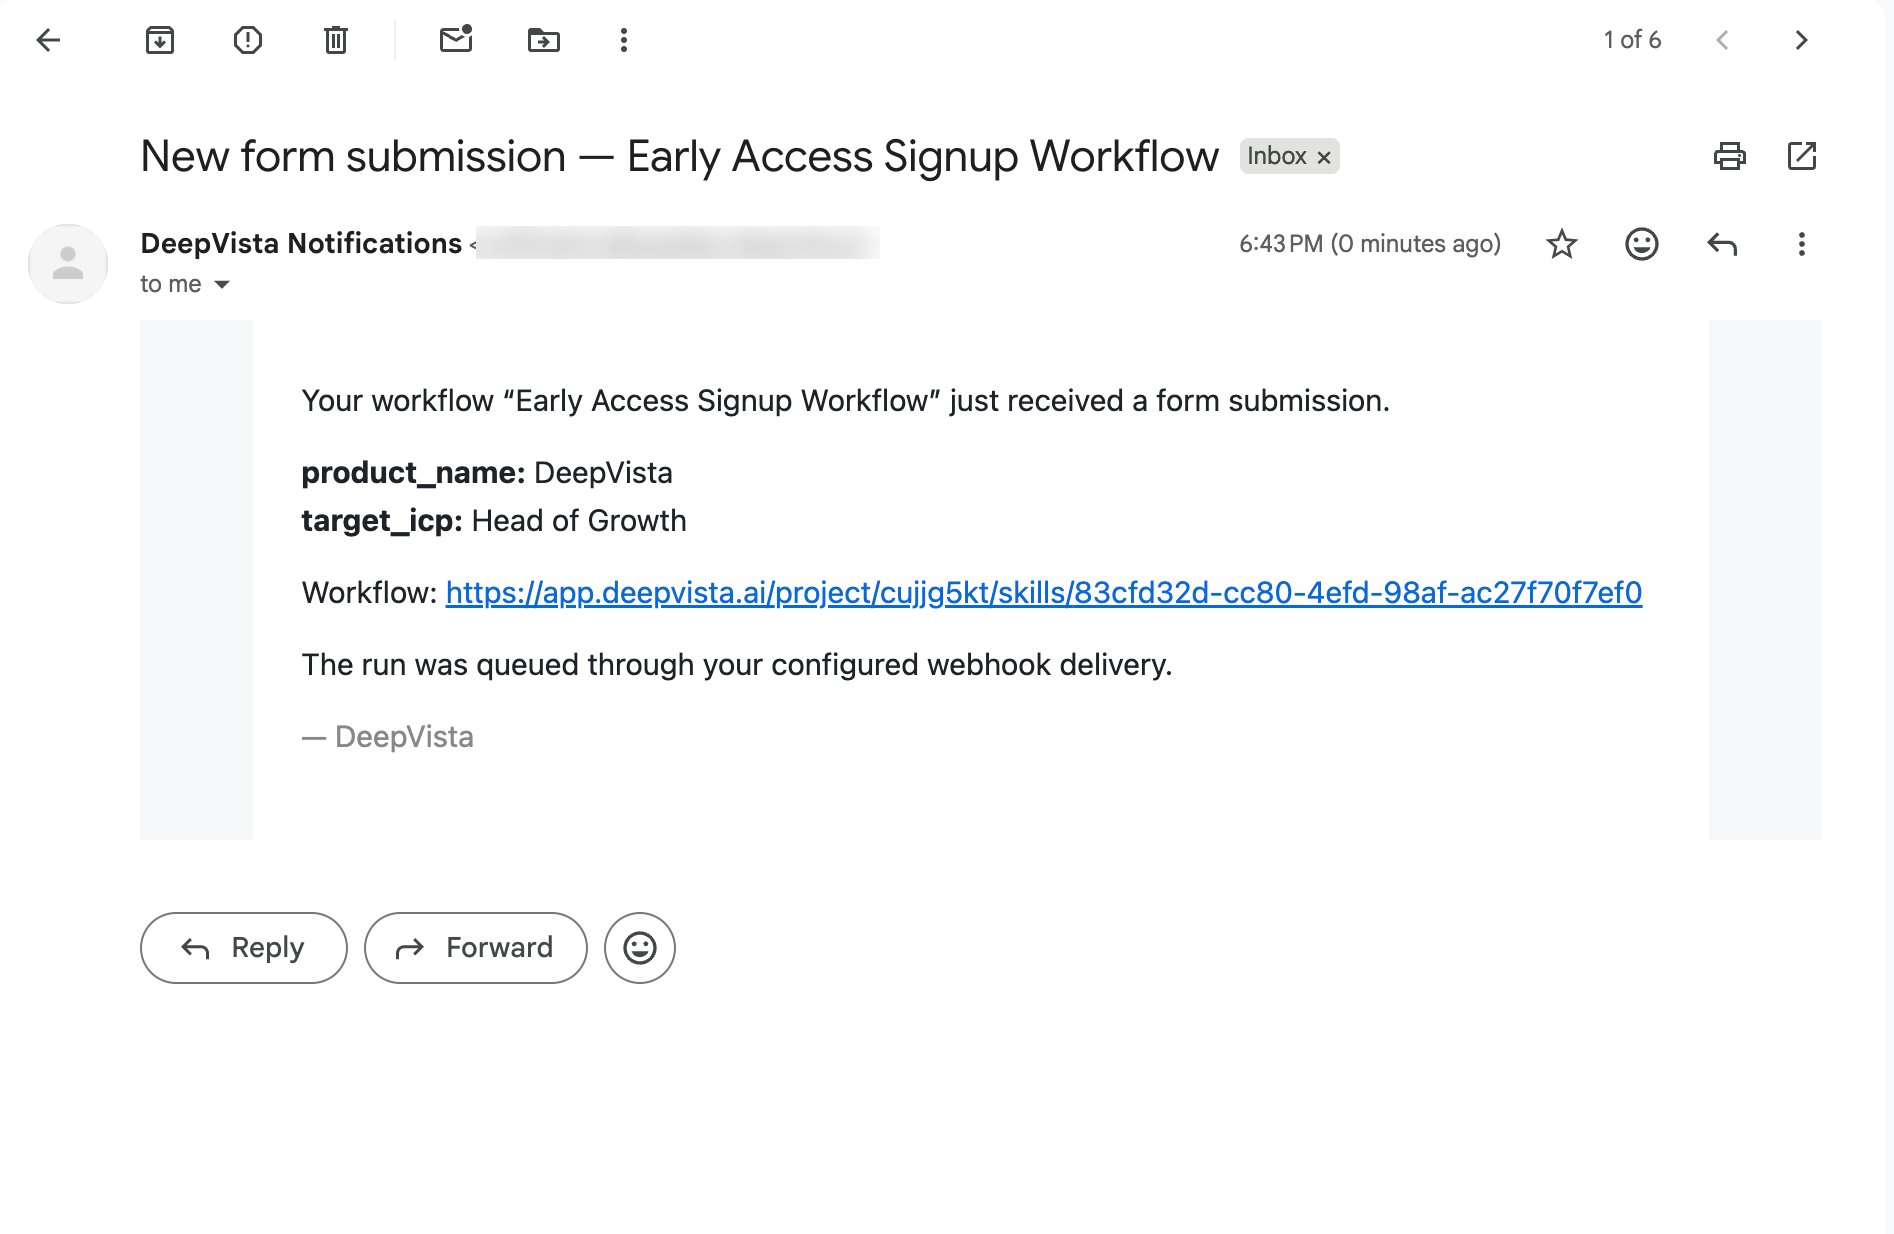
Once someone fills out the form, you'll get an email notification.
Follow up with High-fit Leads
1
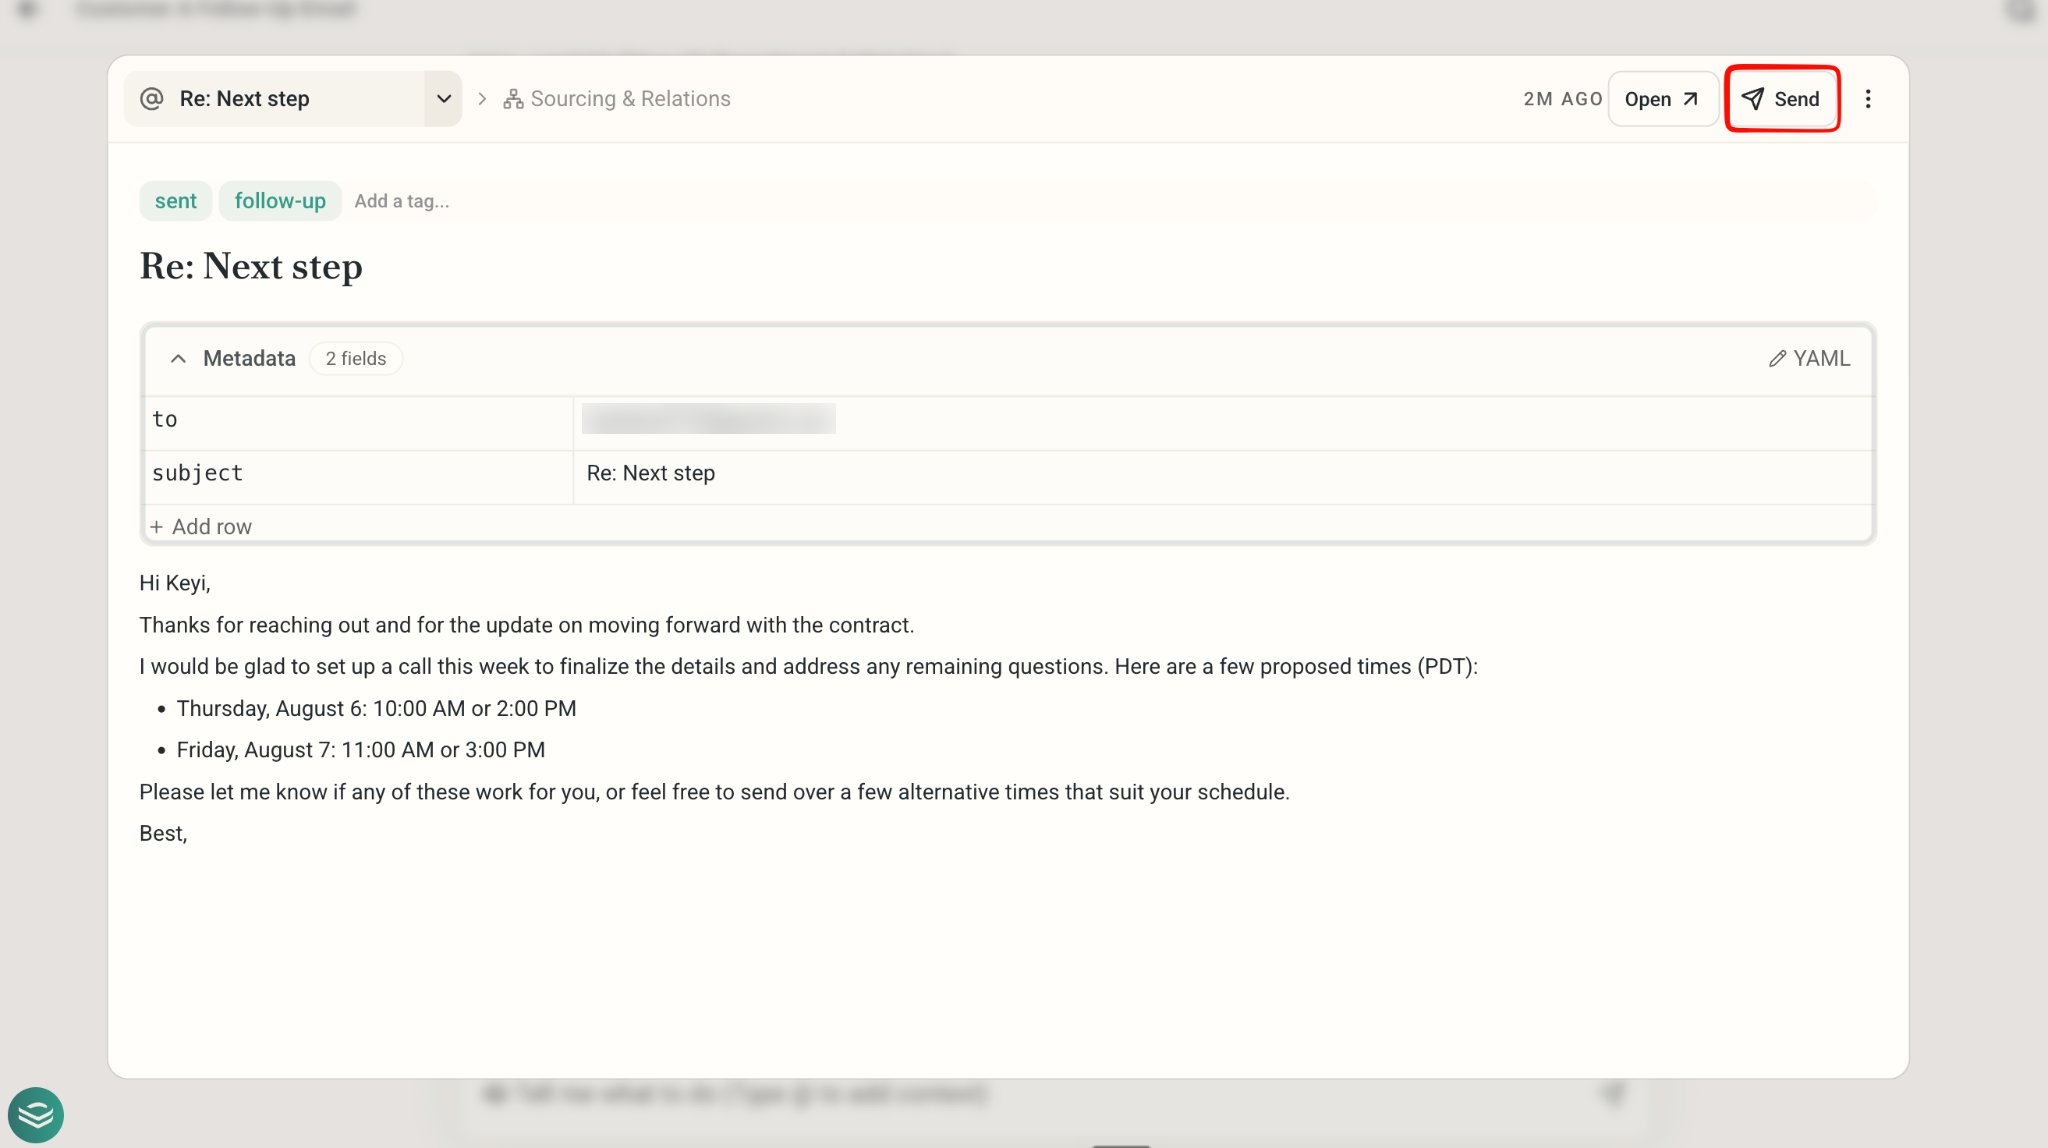
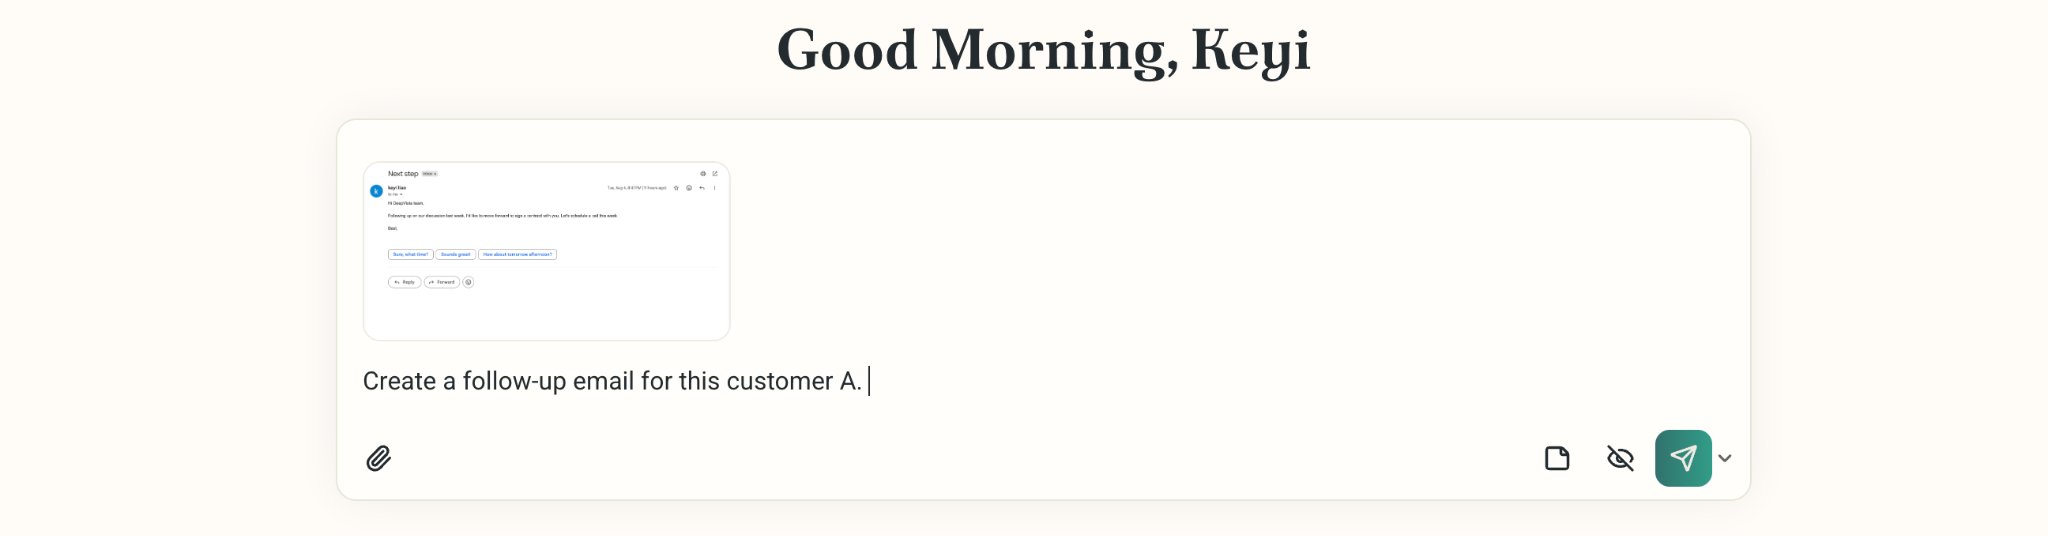
Capture a screenshot of the message. Copy and paste to DeepVista. Ask it: Create a follow up email for me.
2
DeepVista will search across VistaBase to retrieve relevant context about this person, email, and relationship.
3
In the email card, edit and hit Send.